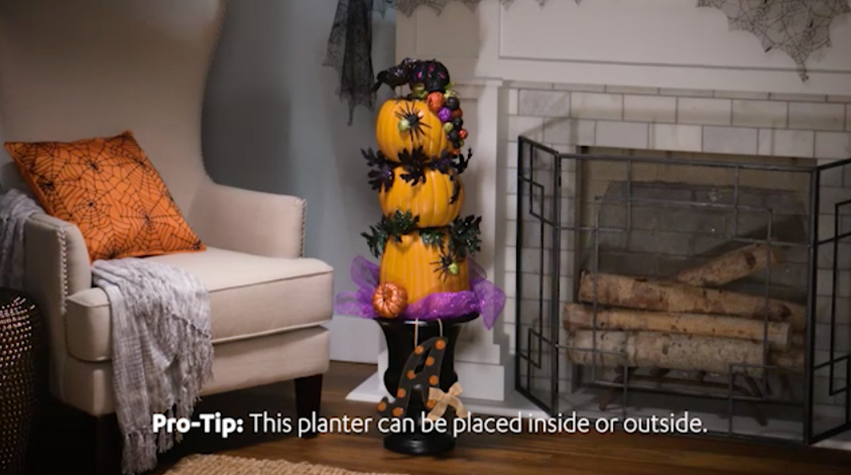
This DIY topiary is stacked to perfection and is a great complement to your other fall and Halloween décor.
What You'll Need:
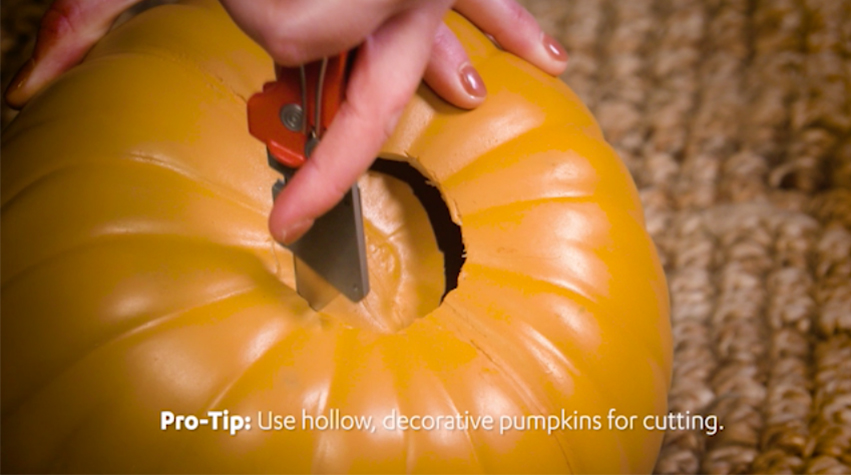
- 3 hollow, decorative pumpkins
- Box cutter
- Large dowel rod
- Industrial strength adhesive
- Rocks or sand
- Styrofoam
- Planter
- Fall garland
- Small Halloween accents
- Wooden skewers
Instructions:
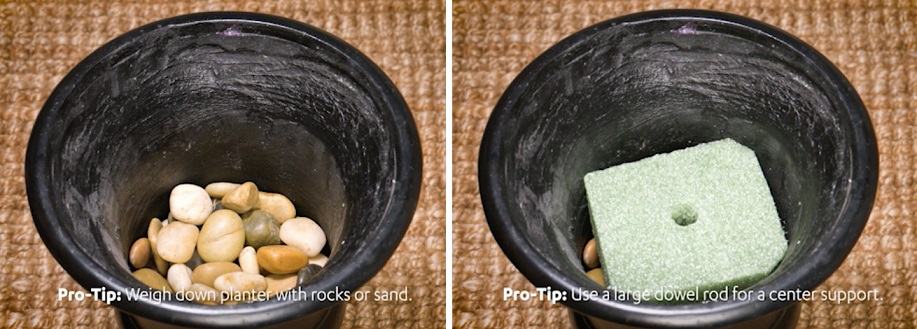
1. Add rocks or sand to the planter to weigh it down, eapecially if tyou'll be placing it outside. Then, add Styrofoam on top of the rocks to create a planter base.
2. Cut holes in the bottom of the two top pumpkins. The holes should be large enough to snugly fit over the other pumpkin's stem. Cut off the tops of the stems on the bottom two pumpkins. In the end, the three pumpkins should be able to stack on top of one another, with the dowel rod stuck through the center as a support (see steps 3 and 4).
3. Stick the dowel rod in to the Styrofoam. This creates a center support for the pumpkins.
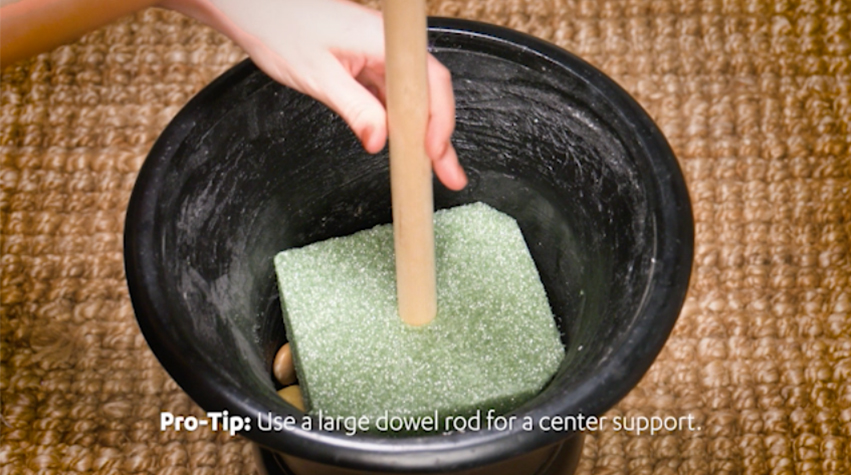
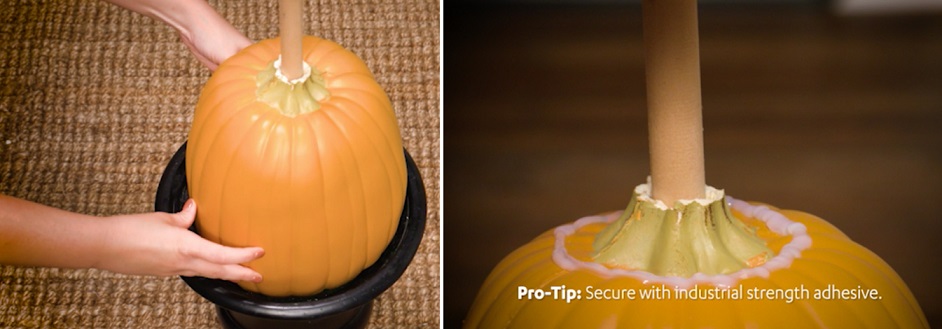
4. Slide all three pumpkins on to the dowel rod.
a. Pro-Tip: Secure the top of each pumpkin to the other pumpkins with industrial-strength adhesive.
5. Add garland and/or ribbon around the base of the pumpkin stack and in between each of the pumpkins.

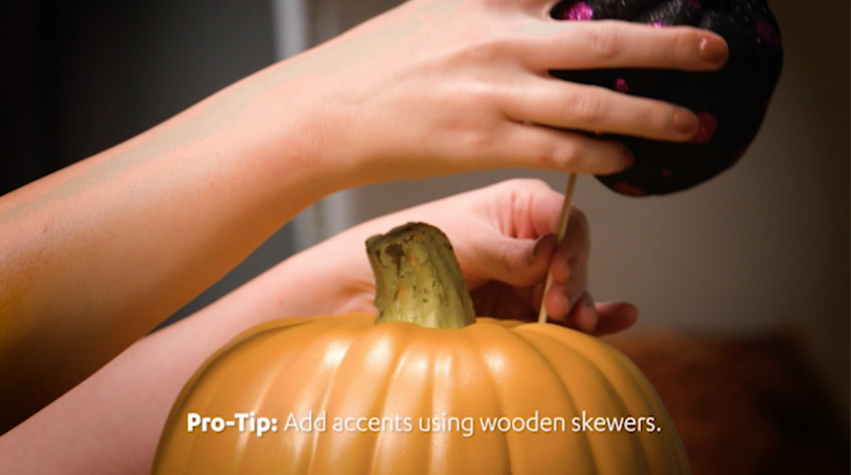
6. Add fun halloween accents using wooden skewers.
7. Place your new planter inside or out to add a festive touch to your home!